SARK V4.0.0 IVR
Contents
Interactive Voice Response (IVR)
Interactive voice response or IVR menus are easy and quick to build with SARK. SARK supports infinite level IVR so you can nest IVRs within other IVRs to any depth. However, as with queues, inappropriate and over-complex IVR menus can be a huge source of frustration to your callers so it is better to keep them as simple and straightforward as possible. As in many things, less is more.
IVR Structure
Before you create an IVR it is a good idea to map out on paper the structure of the menus you are going to present to the caller making a note of the key-presses you will allow them to make. Next you will need to record, or have recorded, the voice responses, you are going to use (known in SARK as "greetings"). SARK has a built in greeting record facility which you can access from any phone using the feature code *60*. You can listen to your greetings either by using the feature code *61*, or by using the greetings panel in the web browser.
Recording a greeting
Each greeting is identified by a unique 4-digit number which you allocate to it when you create it. To create a greeting you can use *60*+{greeting number}. For example, to record greeting 1234 you would press *60*1234. The system suto-attendant will challenge for the administrator password (which you can find in the globals panel; the default is 1111). It will then lead you through a dialogue to record, revue and save your greeting.
Using externally created recordings
You can use externally created recordings as long as they are in mono 16bit .wav format. Internally, SARK save greetings in /asterisk/sounds (this will either be in /var/lib or /usr/share depending upon whether you are running a Redhat or Debian derived distro). The files are named usergreetingnnnn where nnnn is the greeting number. So, for example, you can simply save your .wav file as usergreeting1234.wav and SARK will make it available to you as greeting 1234.
Listening to a greeting
You can listen yo a greeting at any phone by pressing *61*+{greeting number}. You can also listen using the SARK browser greetings panel.
Creating an IVR
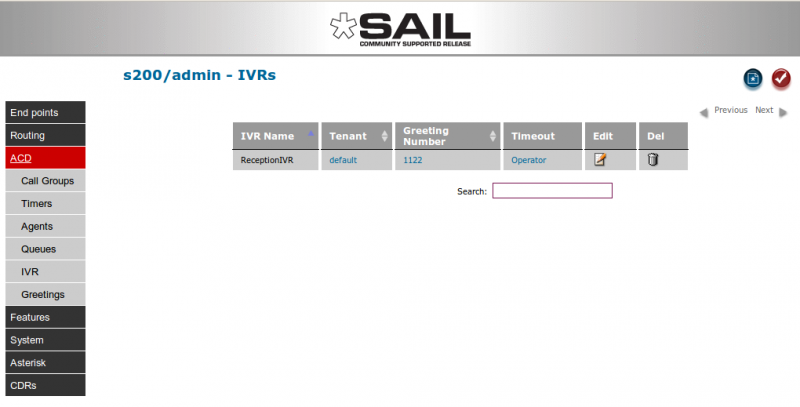
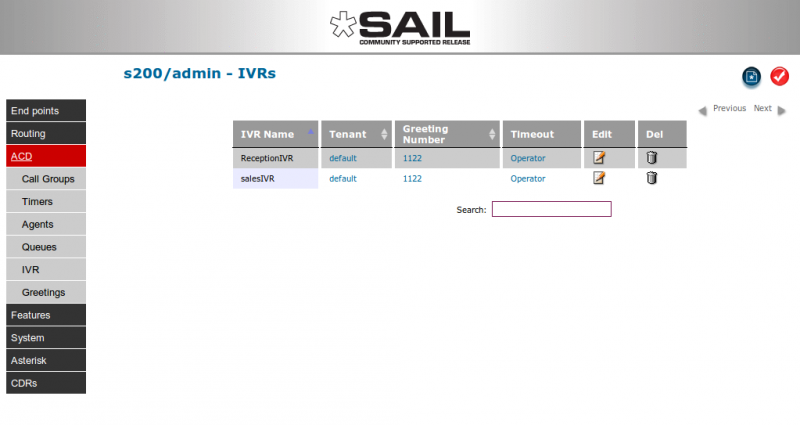
You can create a new IVR by clicking on the new object button at the top right of the main IVR panel.
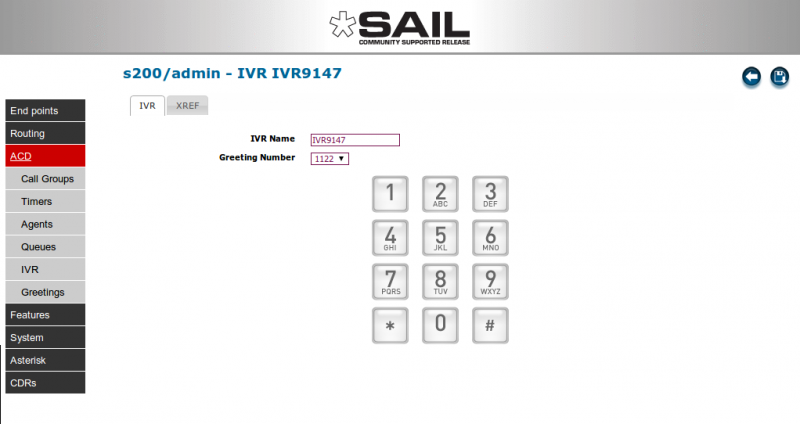
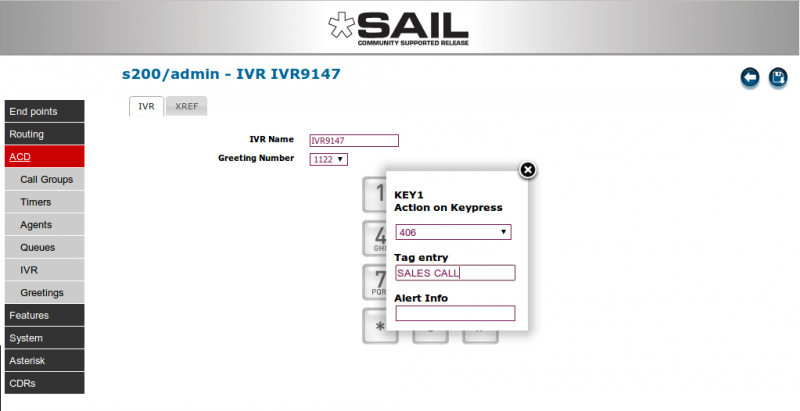
Set each required IVR action by clicking on the image of the corresponding phone key. This will reveal a box with a drop-down list of the available endpoints on your system (e.g. extensions, groups, trunks, other IVRs and so on). You only need to set actions for the keys you are interested in using for your IVR menu. You don't need to define keys you don't intend to use.
Choose an action from the dropdown box (in the example we have chosen extension 406). You can also set a character string, known as a "Tag" or "AlphaTag", which will be sent to the phone when the IVR rings it. In our case we have set it to "SALES CALL". This will appear on the phone display (if it has one) when the call is sent. You can also set a distinctive ringtone in the Alert Info field if you wish. The string you will use will vary from phone type to phone type so you will need to consult your phone documentation. You can also over-type the system generated name for the IVR to personalise it.
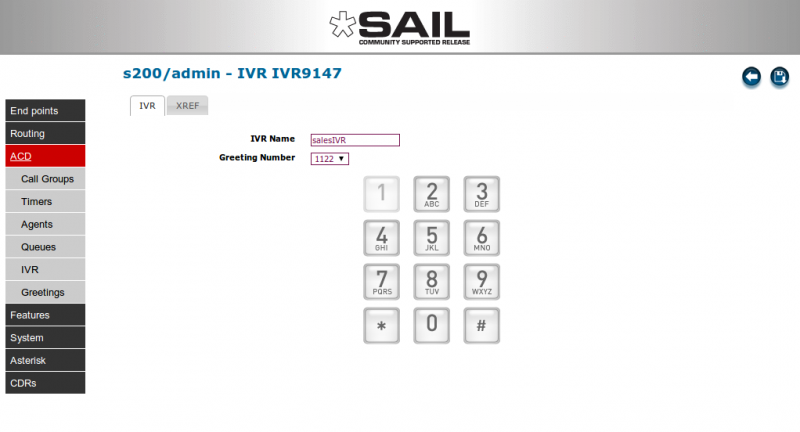
When you click the close button on the dialogue box, the IVR screen will be re-drawn with the selected button(s) greyed out. In this way you can see at a glance which keys the IVR uses. If you hover your mouse over a grey key, the title tag will display the key's target (in the example this would be 406).
Once you have finished setting-up your IVR, press the blue "Back" button at the top right of the screen to return to main IVR panel. If you are happy with your modification you can press the "COMMIT" button to make your new IVR available. You will, of course, need to direct an incoming trunk to actually use your IVR by choosing the IVR in the route drop-down for the trunk.
