Getting Started
Contents
Getting Started
This chapter assumes that you have installed SAIL from the iso download and you now wish to begin using it. The PBX control application is browser based. In sail-3.1 you can browse to it with
* https://ip-of-your-pbx/sail
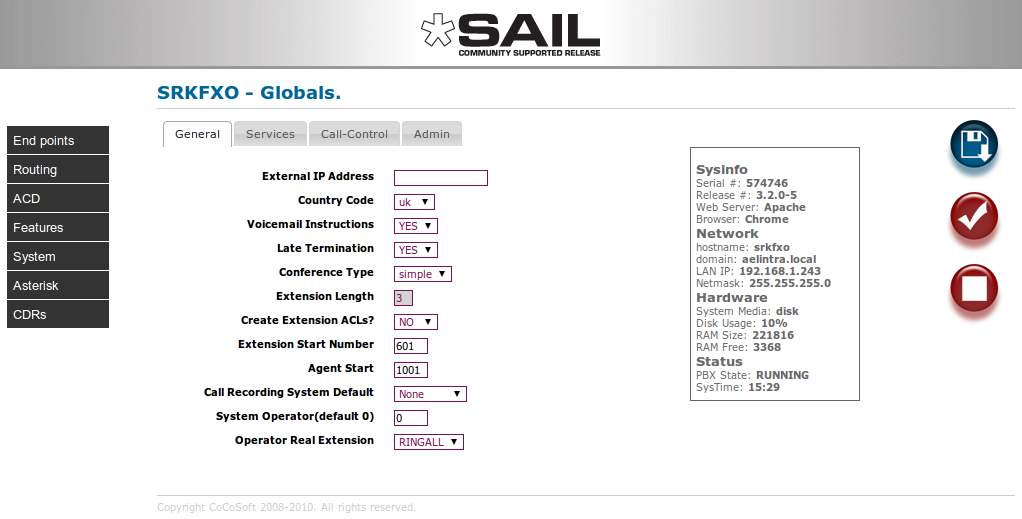
This will challenge for a user id and password. The user-id is admin and the password is whatever you entered when you installed the iso. Assuming all goes well you will be presented with the SAIL globals panel.

The System Statistics section (to the right) shows general status information. Navigation is handled by the column to the left of the screen. Modifiable data appears in the data window in the centre and information and action buttons appear to the right. All data fields have instant help; simply hover your cursor over any heading for an explanation bubble. To save changes, press the save (disk icon) button. To commit your changes (i.e. bring them into service), click the tick, or checkmark, button; this will cause SARK to regenerate the underlying Asterisk configuration files and issue a soft reload to the PBX.
The default set-up
SARK is initially set-up to allow you to install it and be up and running within just a few minutes of powering it up. Provided you deploy SIP PnP capable phones (such as Snom, Yealink or Gigaset), they can be automatically configured and registered on-the-fly when they are powered-up (see the section on PnP below).
Hardware SARK servers are ready to receive calls as soon as they are powered up, however for a software install onto your own hardware, there is a little more work to do. You will need to define your trunk lines (eithet SIP, IAX or ISDN). As phones are added to the system, they are automatically added to a special ring-group called the ‘RINGALL’ group. This provides a convenient way to automatically send inbound calls to the RINGALL group, which will ring all of the phones, and ‘first to pick-up’ will get the call. The RINGALL group can be removed as and when you move to more sophisticated routing and ACD configurations but initially it just allows you to get up and running very quickly. Also by default, outbound calls will initially be routed via the ISDN hunt group. Of course, you will probably want to progress to more sophisticated call distribution and routing and you may wish to deploy VoIP trunks and perhaps remote phones. All of these things can be accomplished using the SARK browser-based interface. The following sections we will cover some of these topics in more detail.
Adding Trunklines
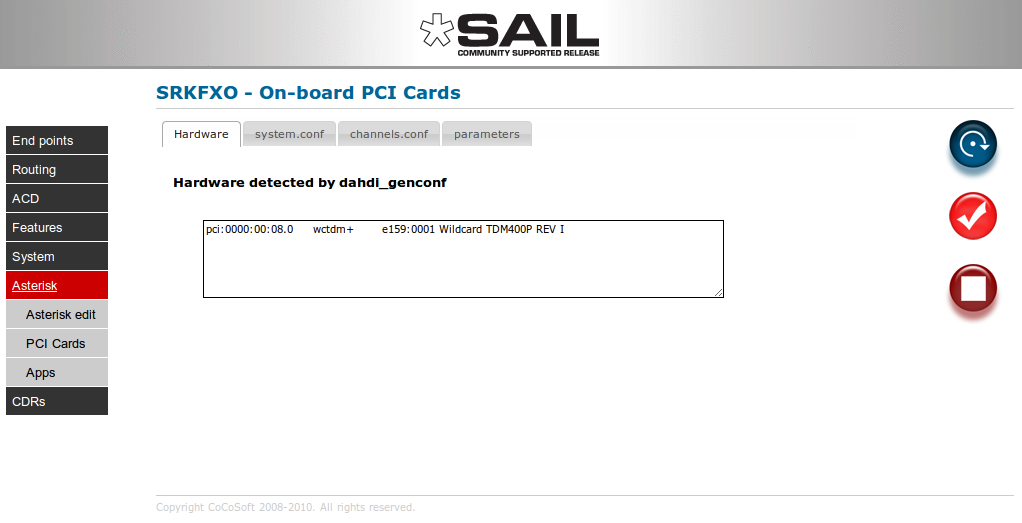
If you have ISDN (BRI or PRI) or analogue telephony cards installed on your system then you will need to activate them through the Asterisk->PCI Cards panel. Simply visit this panel to detect the fitted cards and press Commit to accept the system choices. You can change/amend any of the choices which SARK makes if you wish but the defaults will usually give you a good start-point.

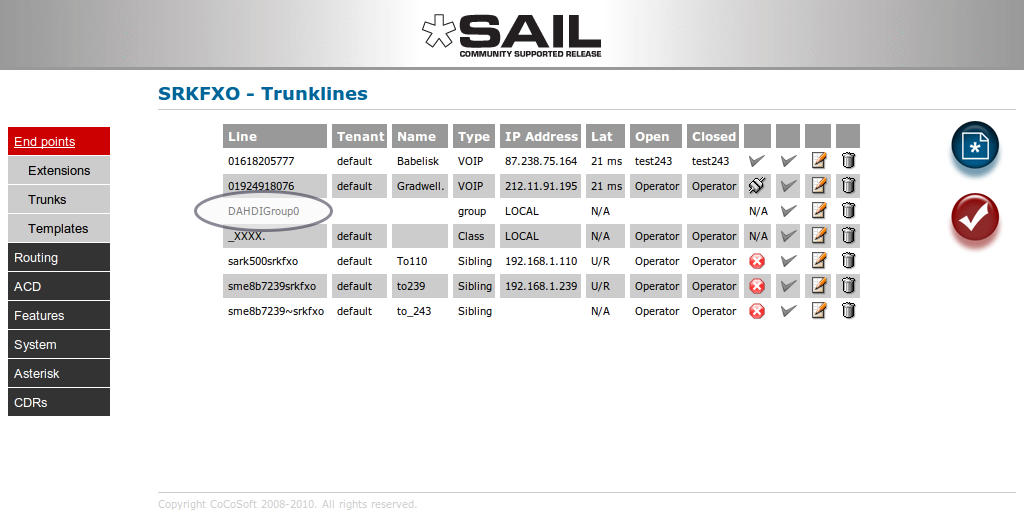
In the image above, SARK has detected a Digium TDM400 class card with 2xFXO ports (trunks). When we issue the commit to accept this then SARK will automatically generate a trunk group entry to deal with these ports. If we look at the trunk panel we will see the generated hunt group (highlighted)

Routing inbound analogue trunks
Analogue calls set no DNID so we usually route them all to the same location. In the absence of any other directives, SARK will initially route analogue calls automatically to the system operator. Out-of-the-box, the operator is set to be the "RINGALL" group so inbound calls will ring all of the phones. You can change this in the operator drop down box in the Globals general panel and you can set up different routes for different physical analogue lines if you wish.
Adding a DDI Trunk
To route inbound Digital calls with 'Dialed Number ID' (DNID) enabled you can examine the value of the DNID. For ISDN2 and ISDN30e you may need to confirm with your telephone line supplier (PTT) how many digits will be presented in the DNID; it may be 3 or more digits depending upon your carrier's practice. The UK default for BT-supplied lines is 6 presentation digits but older CPE equipment often could only handle 3 or 4 digits so you will regularly come across circuits in the field which present differing numbers of digits. VoIP carriers usually provide the entire 10 or 11 digits in the DNID (although sometimes without the leading zero) when they deliver calls over SIP or IAX2.
To confuse matters further; in digital systems, individual numbers are often allocated in blocks by the telephone company and known as DiD numbers (Direct Inward Dial) or DDI numbers (Direct Dial In). The important point here is that you can pretty much use the terms DNID, DDI and DiD interchangeably and for our purposes, they all mean the same thing.
SARK has a special trunk construct to manage and route these numbers. It is called a PTT_DiD_Group trunk and you can define and route a set of one or more contiguous numbers using this trunk type. Let’s add an example DiD group with the range 446640 to 446649. To do that we can click the "new" button in the trunks panel and then choose “PTT_DiD_Group” from the drop down.