SARK V4.0.0 Multi-Tenant
SARK multi-tenant is used to manage a shared PBX deployment where multiple groups of users need to be treated as completely separate entities. These groups are called "Tenants". The multi-tenant feature can be used to administer managed offices, buildings or campuses. It can also be deployed as a managed-service-offering for groups of remote users.
The Default Tenant
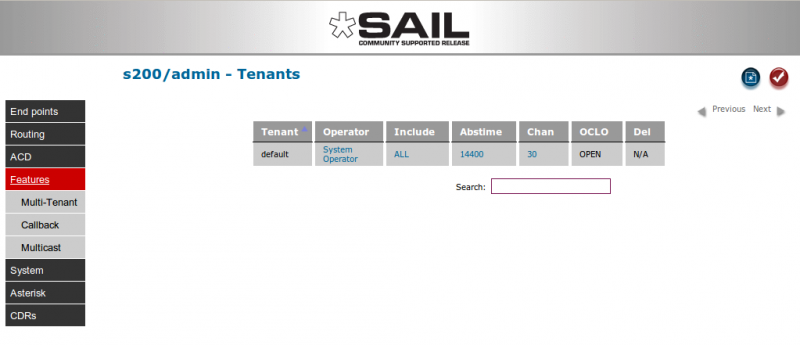
There is always at least one tenant present on your system. It is the default tenant and you cannot delete it, however you can modify its settings. You can nominate the "system operator" extension, the number of concurrent outbound channels allowed and the maximum allowed call time.
Adding a new Tenant
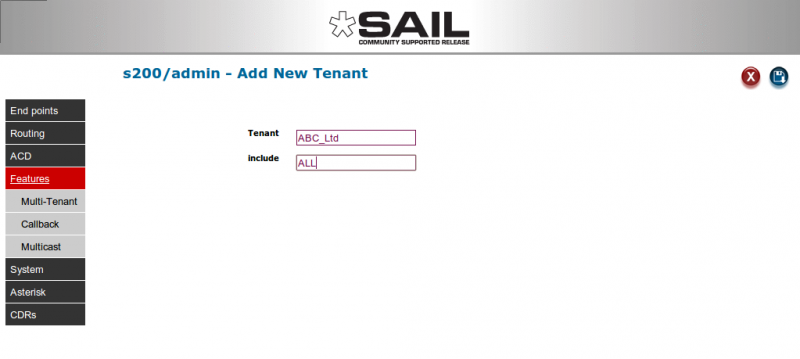
You can add a new tenant by clicking the "new object" button at the top right of the screen. You will only need to fill out two variables; the new Tenant's name and its "include" list. Each tenant can be thought of as a completely separate virtual PBX in its own right. It can have extensions, lines call groups, IVRs, Queues and so on which it exclusively owns and which are not available to other Tenants. Indeed, by default, extensions from different tenants may not even call one another by extension number. Instead they must use the PSTN numbers associated with the Tenant they wish to contact, just as they would if it was a separate PBX. This behaviour can be overridden at the individual tenant level by specifying an "INCLUDE" list. It lists each tenant that may be called by extension number. Optionally, this column may contain the keyword ALL to include all other tenants. Press the save button to save your new tenant to the database.
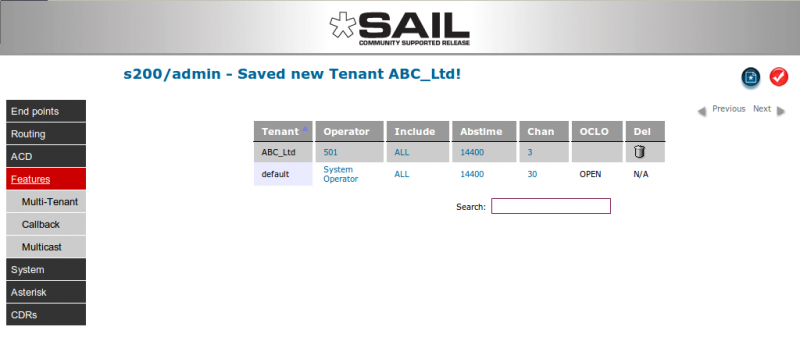
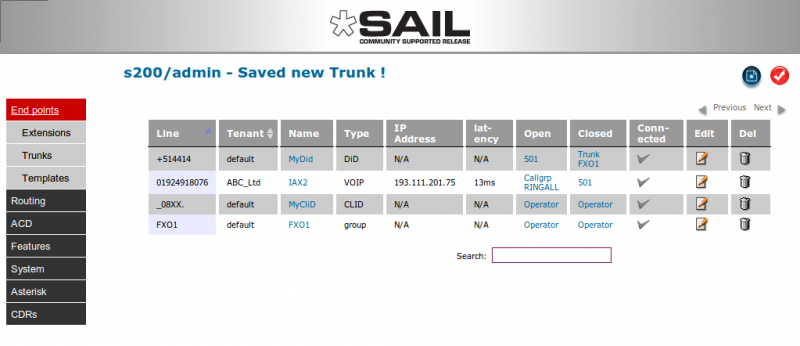
Our new tenant has been created and, once we commit the change to the PBX, ready to use. By default, it is created with a trunk limit of 3, a call-duration-limit (abstimeout) taken from globals and the operator set to the system operator. You can click and change any of these values to suit your needs. You can now go ahead and create or re-allocate objects to be members of this tenant. As a minimum you will likely need at least one extension, one route and one trunk. To make an object a member of a tenant simply set it in the tenant column of the object. In the trunk example below one of the trunks has been reallocated to the new tenant.
Trunk sharing
Although we have allocated the above trunk to a particular tenant, sometimes it is necessary or desirable to share a trunk between tenants. This is often the case with T1/E1 PRI trunks. Provided a trunk is defined as being in the "default" tenant then all tenants can select that trunk from their routes panel.
Call accounting for Tenants
The "accountcode" variable in each CDR is stamped with the name of the owning tenant. This happens even when a trunk is being shared by multiple tenants so it is easy to account for the call minutes of each tenant.


